In today’s article we will take a look at some interesting and slightly hidden features in One UI 3.0 and 3.1.
There are 8 features that are quite interesting and maybe you have never used it and don’t know about it, even though this feature is quite useful for you to use on a daily basis.
Okay, now let’s see what are the newest features in One UI version 3.0 this time.
1. Add 6 Shortcut on Media Control
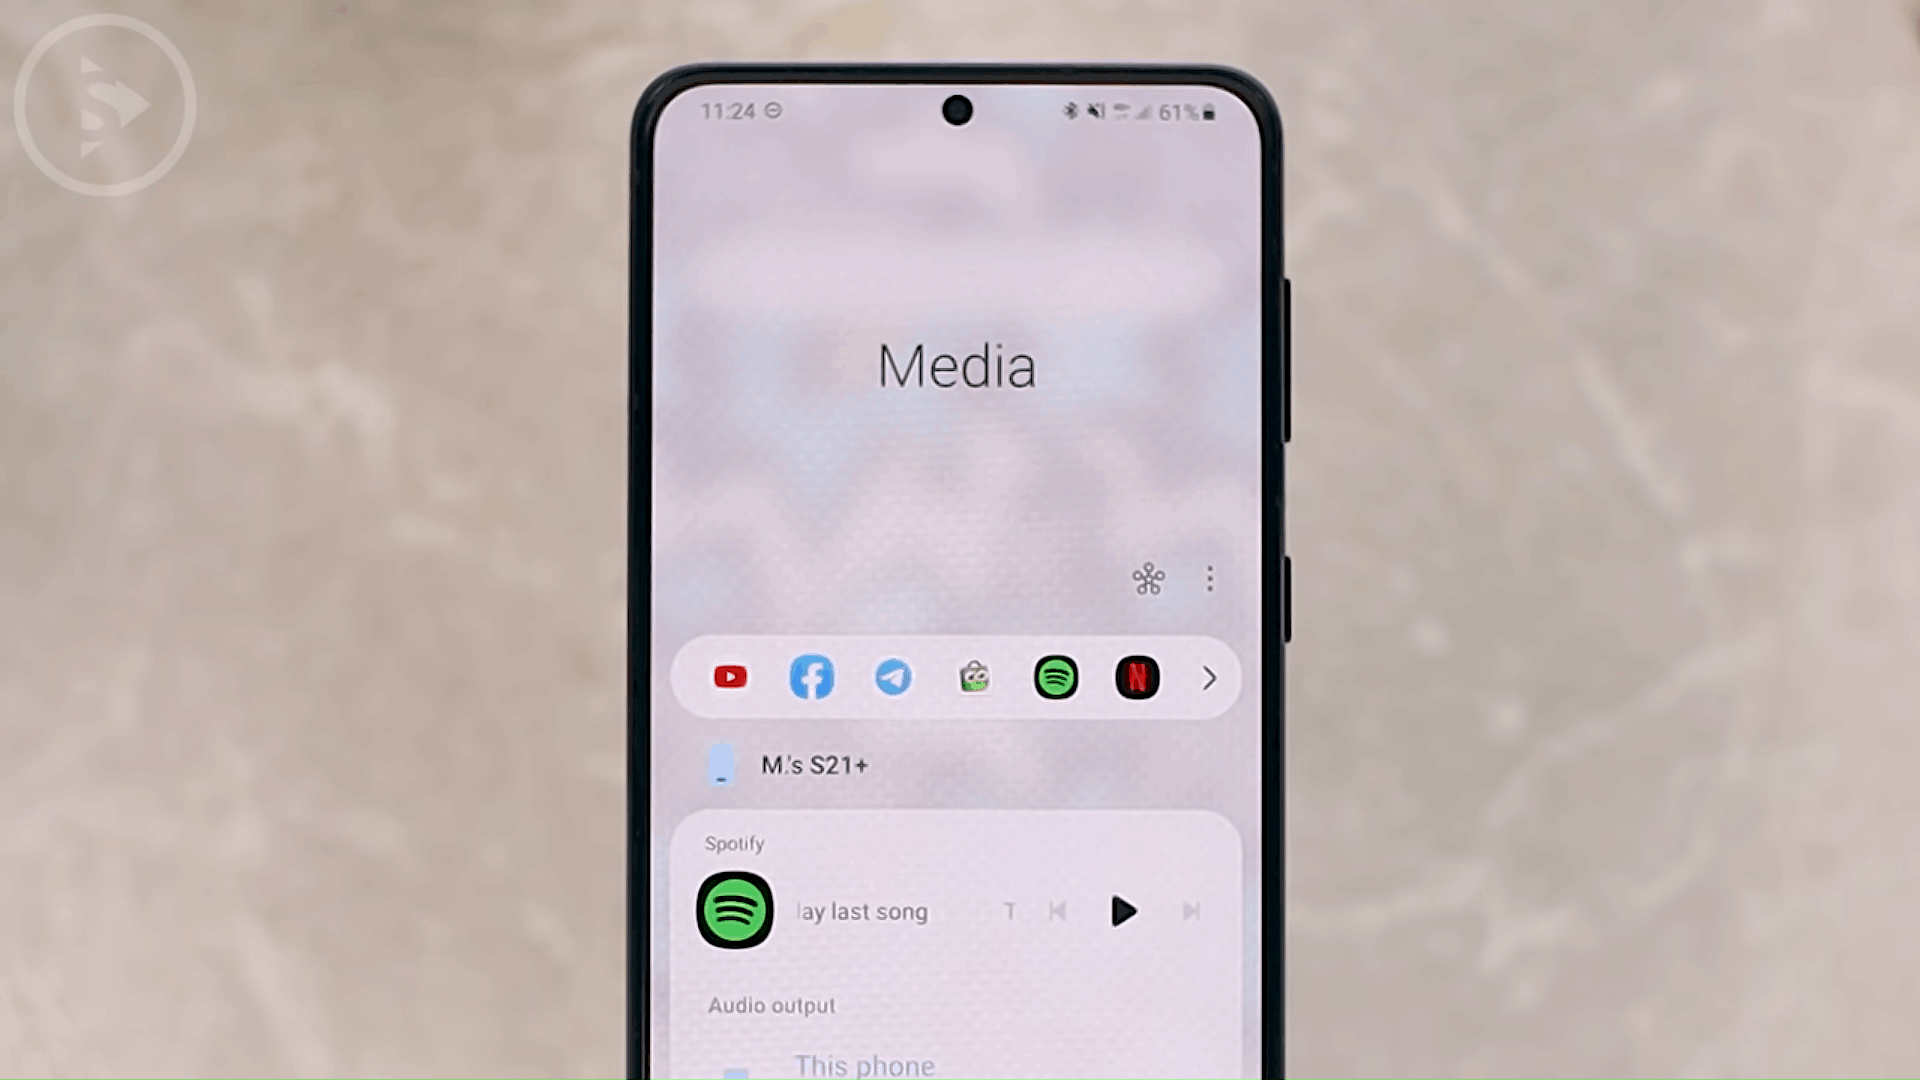
The first feature is that you can add an icon in the Media control section of the Notification panel. So actually at the top of the Media menu you can add 6 additional icons. So you can immediately open Spotify and other supported applications directly from the top of this Media menu. So, in this section of the Media menu, you not only can share music but also can share smart views on your TV or other devices, you can also directly access the shortcut for the multimedia icon at the top.

To bring up these icons you can enter the options in the top three dots then select the Settings button. Here you activate the Show app shortcuts. Then all you have to do is go back to Media and click on the top of it, all you have to do is tap on the Add app shortcuts section. Then you can immediately select the application icons or shortcuts that you want to display on the Media menu. Here you can select up to a maximum of 6 applications, and now you can directly access icons or shortcuts in the Media menu section.
2. Add Device Care, Digital Wellbeing, and Bixby Routine Shortcuts on Homescreen
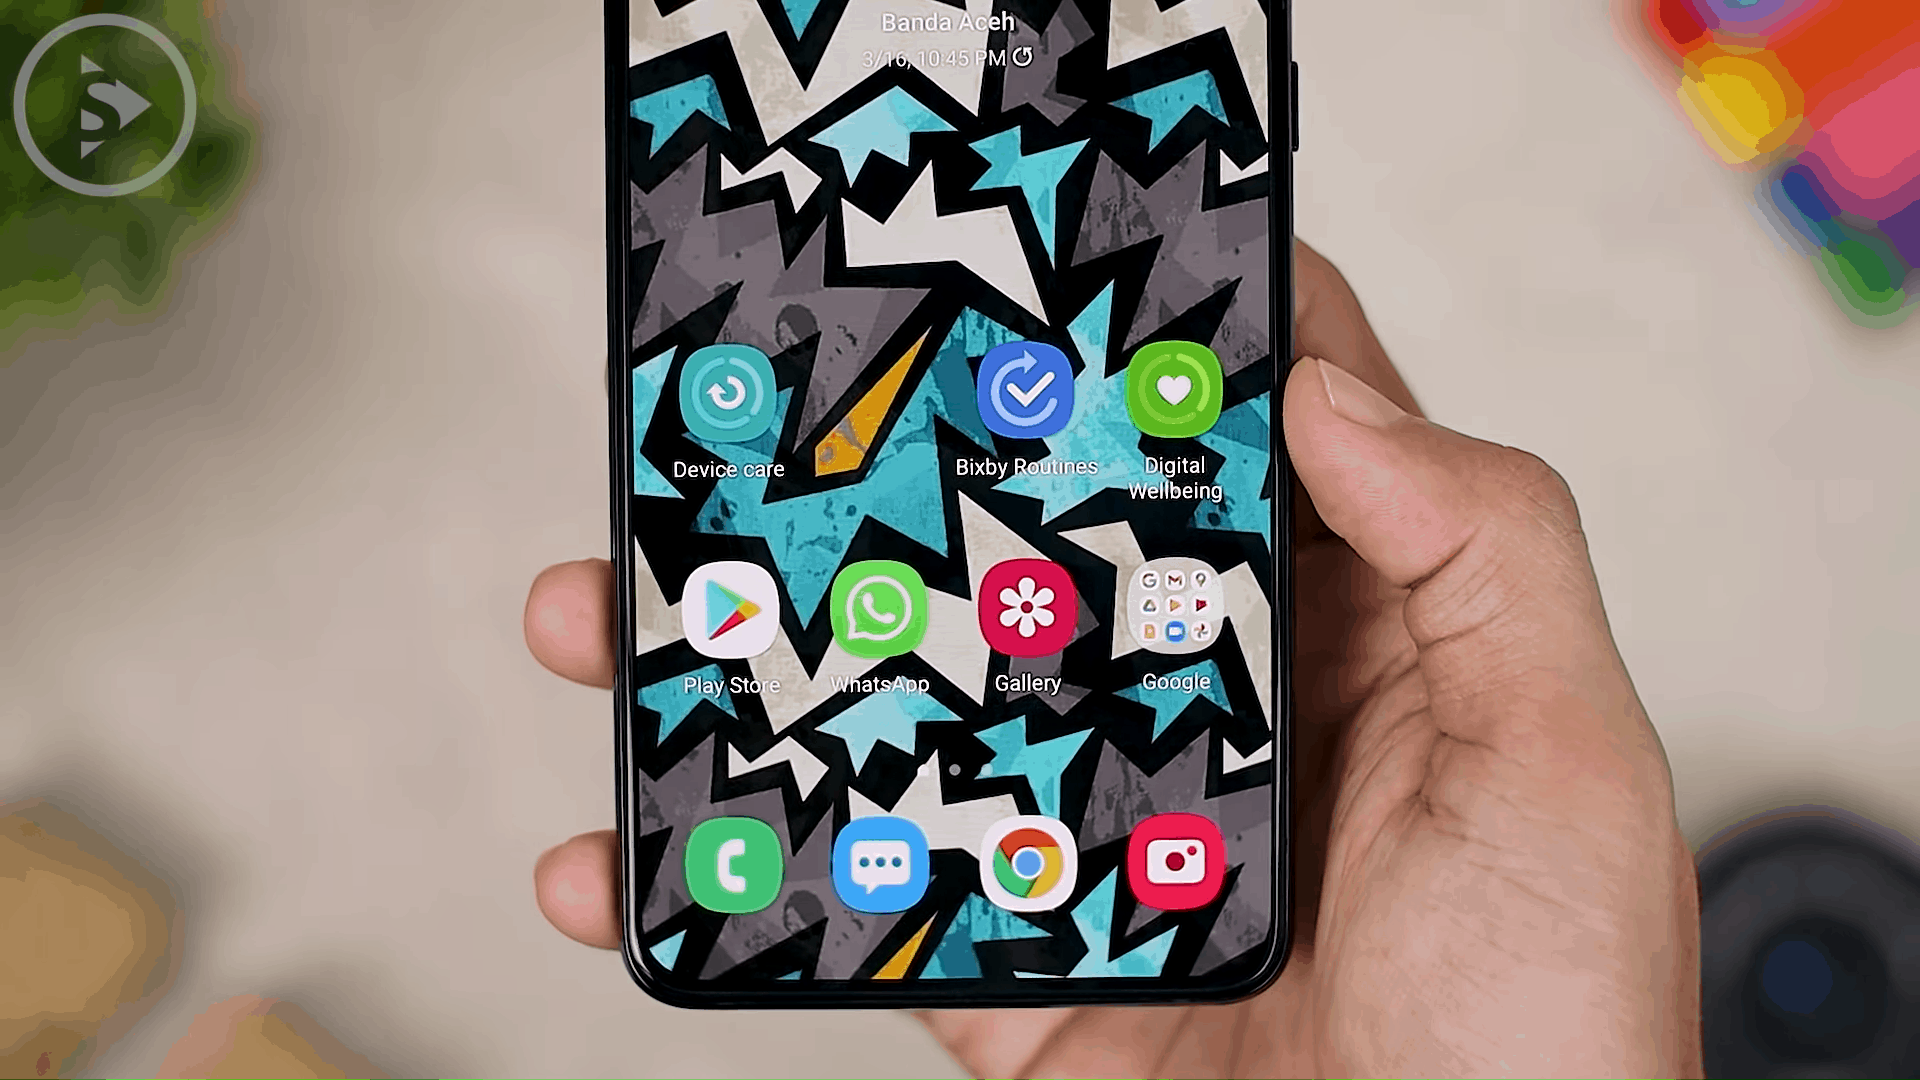
Then, the second feature that you can use in One UI version 3.0 or 3.1 is adding a shortcut icon on the homescreen. On the home screen in One UI version 3.0, you can display shortcuts for Device Care, Bixby Routines and Digital Wellbeing. So, you can immediately open Device Care on the homescreen and no longer need to enter from the smartphone settings section.
To display the Device Care, Bixby Routines and Digital Wellbeing shortcuts, you can enter each of these settings in your smartphone settings. Here, for example, we want to display the Device Care, we can enter the settings then select Battery and Device care. Then here you just have to open the settings in the “three dots icon” on top right corner and select Add to Apps screen. And now the setting is in the Apps screen. To add it to the homescreen, you can find the settings on the Apps screen first. After finding the application on the Apps screen, you can tap the application icon and hold, then select Add to Home. And now you can find the application icon on the homescreen of the smartphone. Here you can immediately place the icon to whenever you like.

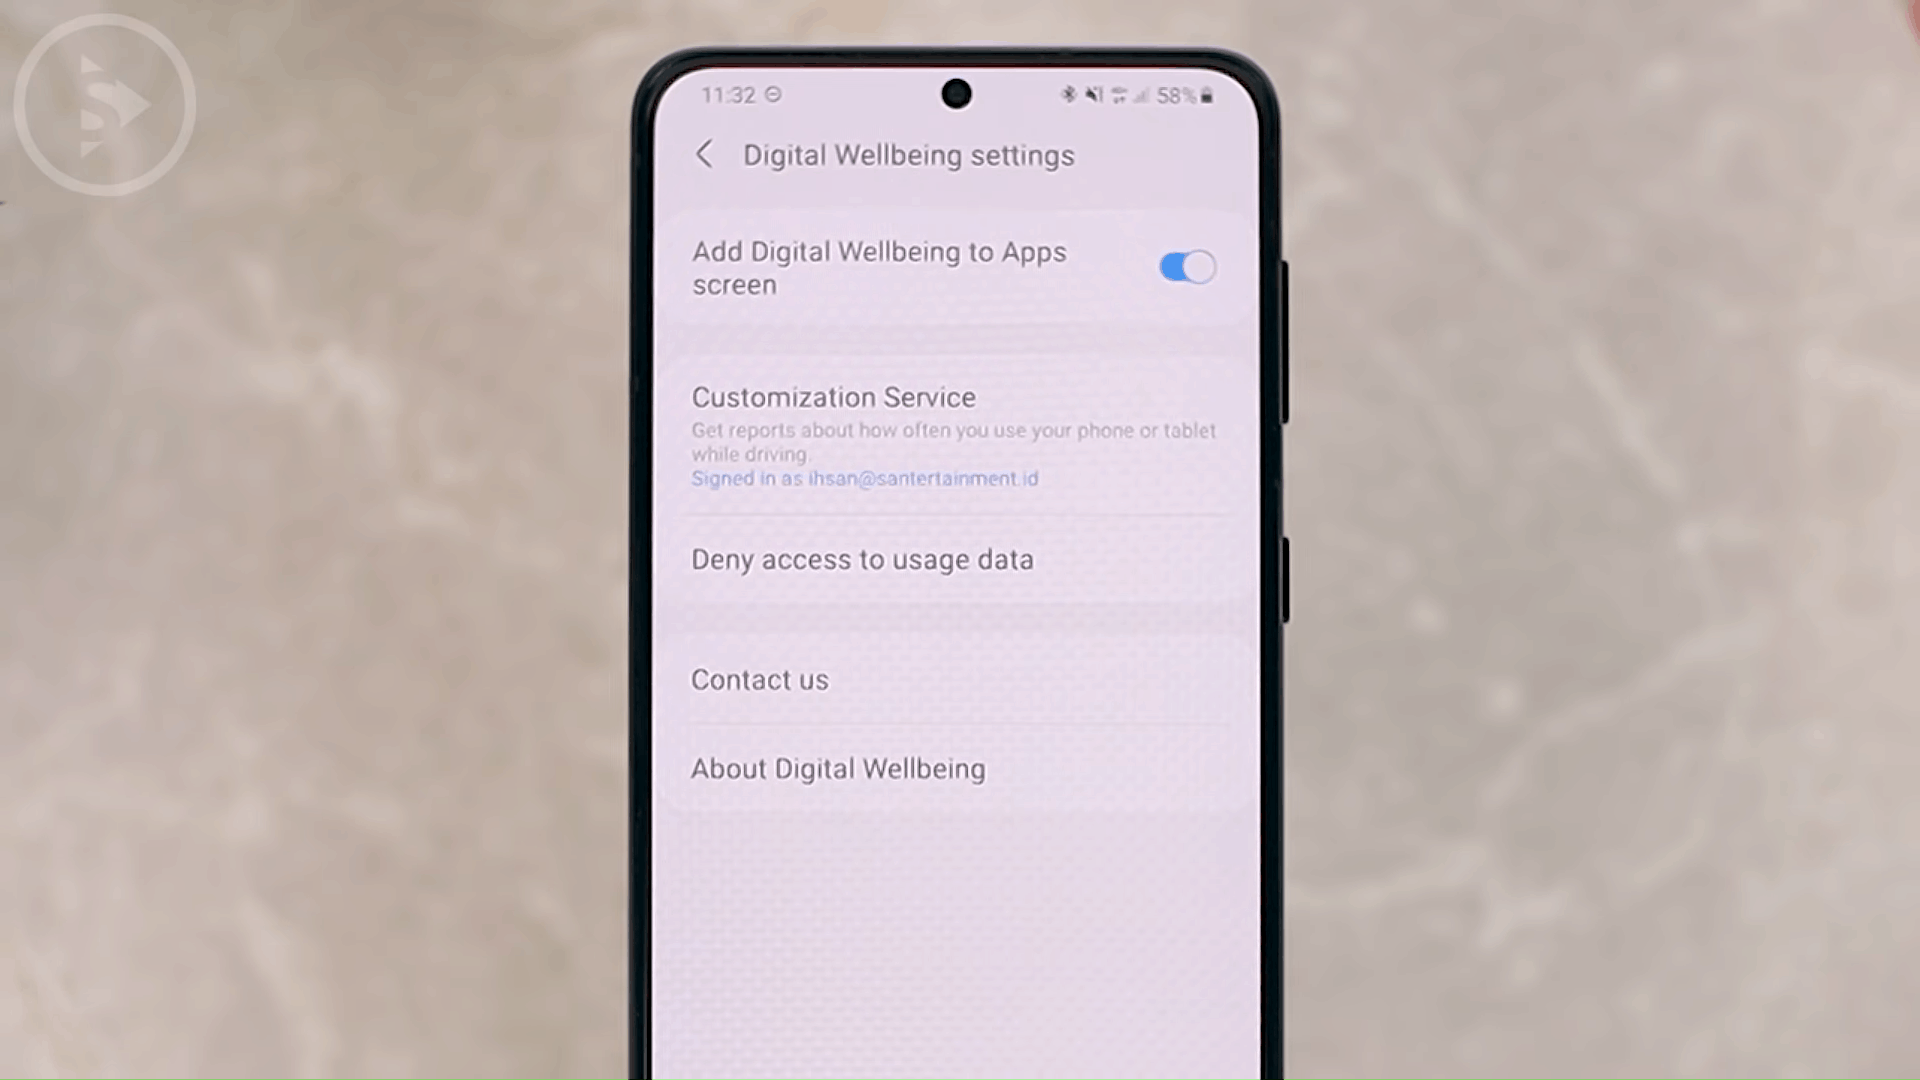
For digital well-being is the same as the previous method, all you have to do is enter to the smartphone settings then open Digital Wellbeing and parental control. Then open the settings in the top three dots and select settings. And here you just need to activate the Add Digital Wellbeing to Apps screen and you can immediately find the Digital Wellbeing application on your Apps screen. After finding the Digital Wellbeing icon on the Apps screen menu, all you have to do is tap and hold the icon, then select Add to Home. And now the icon immediately appears on the homescreen and you can immediately adjust its position.
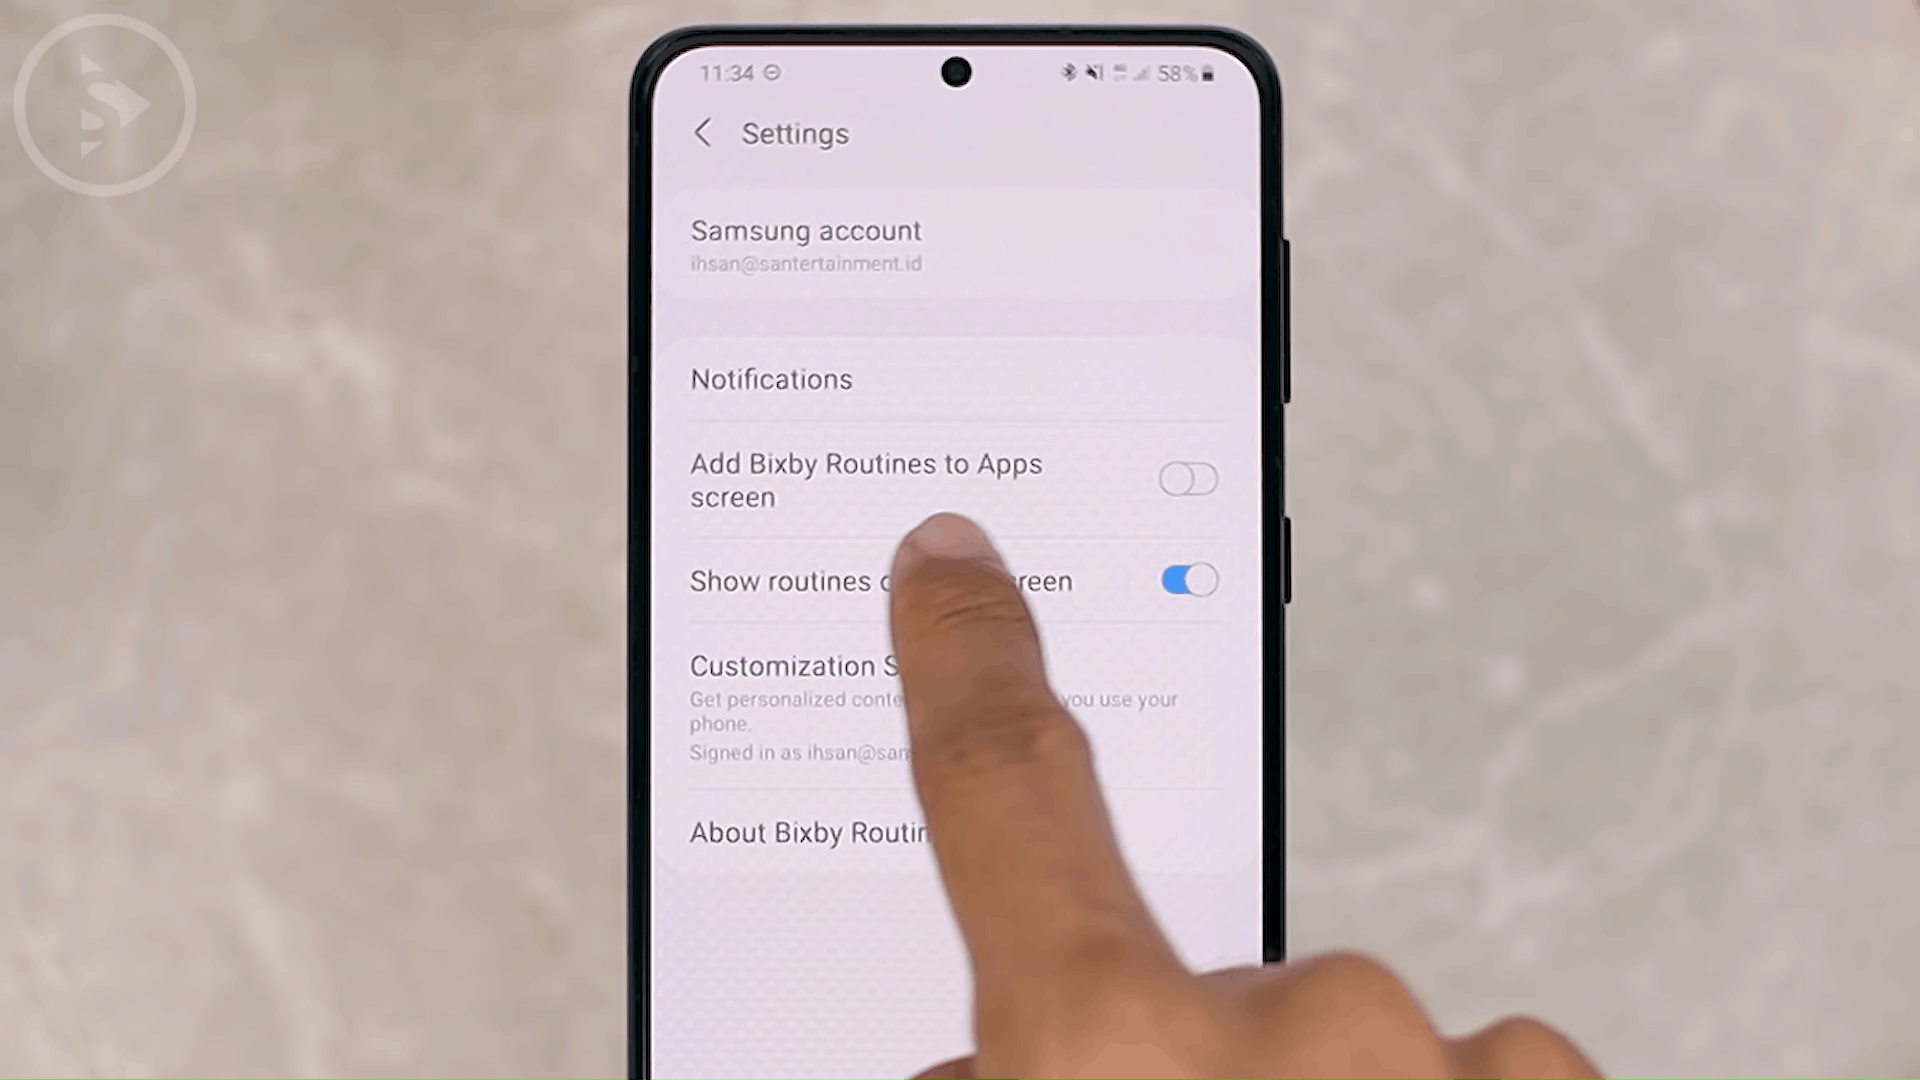
To add the Bixby Routine icon, you can enter the smartphone settings then select the Advanced features and here you just need to activate the Bixby Routines. Then in this section you can go directly to the Bixby Routines settings at the top three points and select settings. Here you can immediately activate the Add Bixby Routines to Apps screen feature. And the Bixby Routines icon will immediately appear on the Apps screen and you just need to add it to the homescreen as before.
3. Show Clipboard Shortcuts on Edge Panel
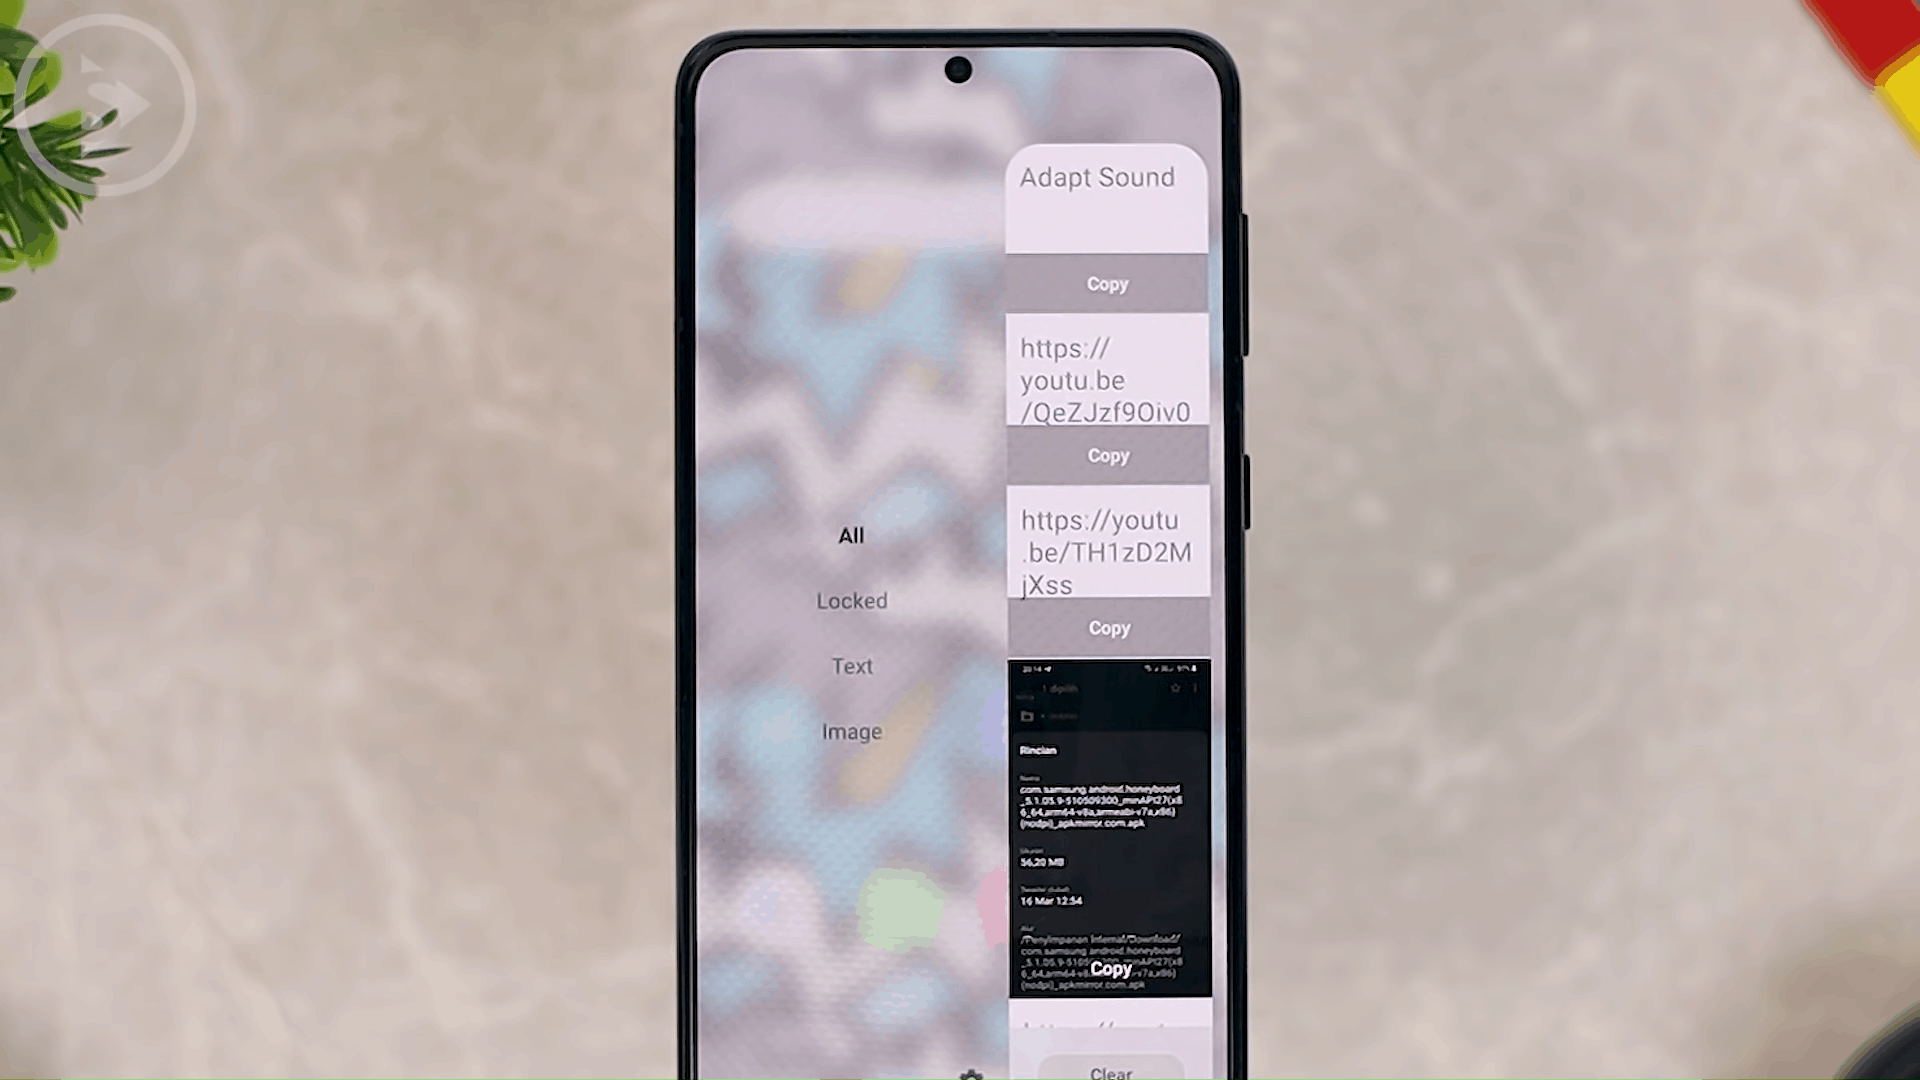
Then the third feature that you can use is the Clipboard feature on the Edge panel of the smartphone. For those of you who use Samsung smartphones that have the Edge panel feature, you can take advantage of the One UI 3.0 feature. So, in the Edge panel, besides you can immediately open shortcuts for the applications, you can also directly copy the Clipboard in the Edge panel. Here you can directly copy the Clipboard and here you can also select the category. There are those that are specifically for photos and also specifically for text only, and there is also a Clipboard that is already locked.

To activate the Clipboard feature in the Edge panel, you can open the Edge panel then select Settings at the bottom of the section. And in this section, you can immediately activate the Clipboard menu. And now you can directly access the Clipboard directly from the Edge panel, so it’s easier for you to copy or paste text to your smartphone.
4. Auto Delete Shared Screenshot
Then the fourth feature that you can immediately take advantage of is the Delete shared screenshot feature. This feature can be opened in the smartphone settings then select Advance features and select Screenshot and screen recorder.
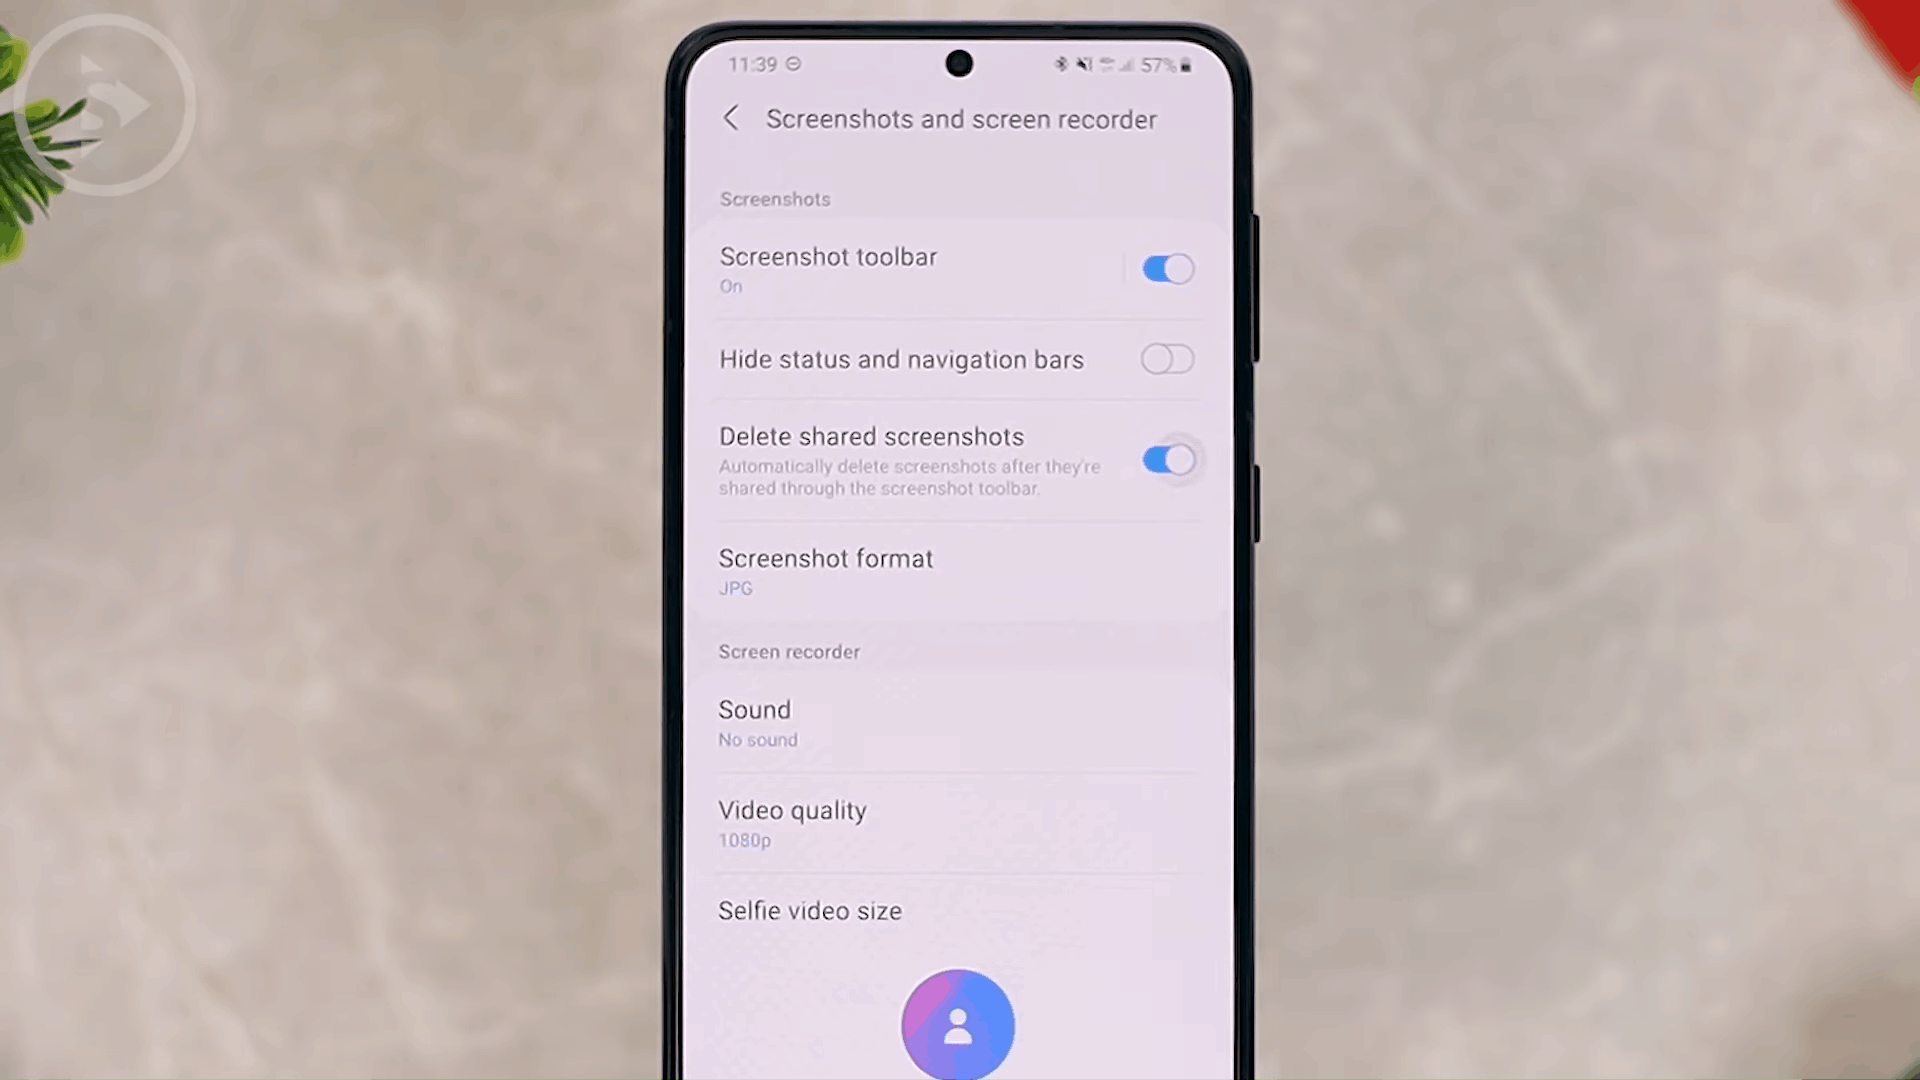
In this section there is a feature called Delete shared screenshot. By activating this feature, when you share a screenshot with another smartphone, the screenshot will be automatically deleted from your smartphone. So, your smartphone will no longer be filled with old, unnecessary screenshots that you have sent to other smartphones and are no longer needed.
5. Set Notification Color by Keywords

Then the fifth feature, you can set the notification color based on the incoming text from the notification. The point is when there is certain text that you want to mark, you can immediately enter the keyword and later the notification will be colored according to the color you choose.
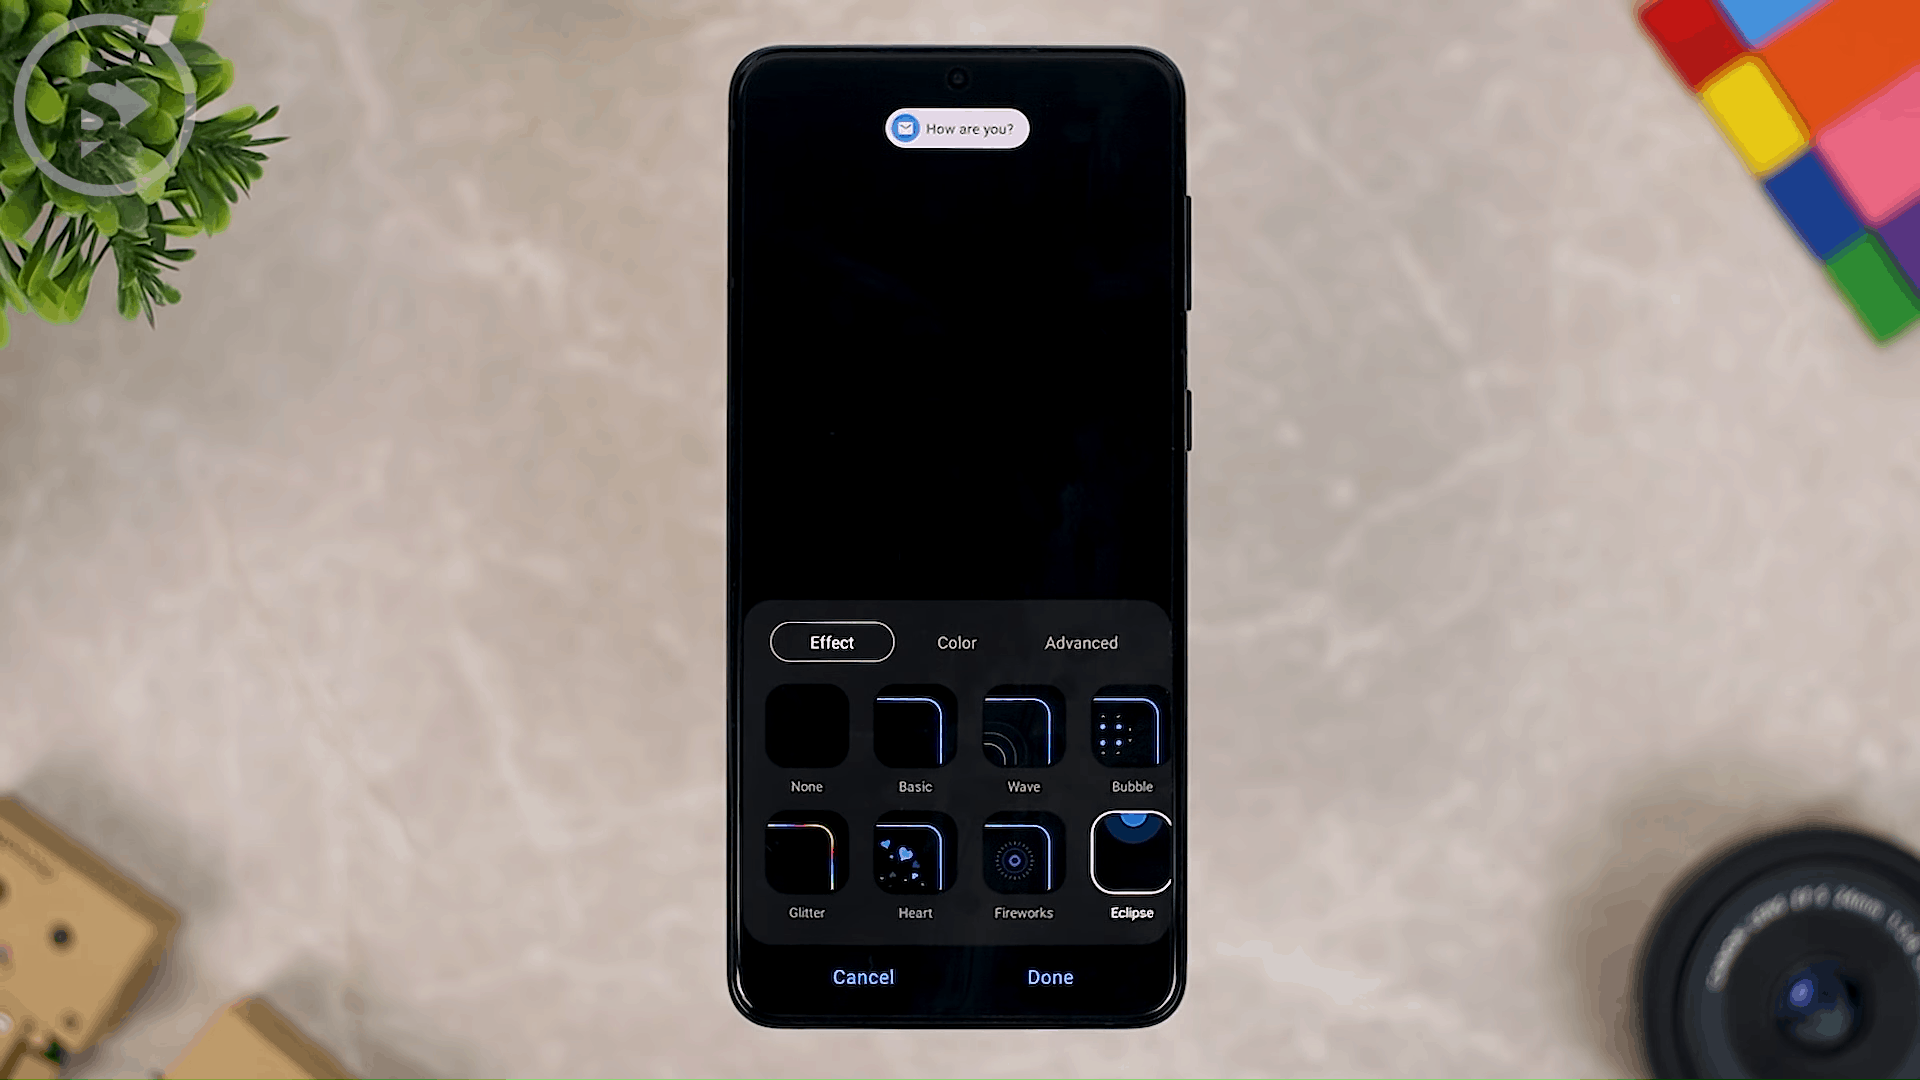
You can activate this feature in Settings then select Notification then select Brief notification and select Brief pop-up settings. In this section, you just need to activate the Edge lighting style. For example, we choose Edge lighting which is Eclipse and in the second option you can choose Color by keyword. Here you can mark certain keywords that are included in the notification section. For example, we mark the keyword Santertainment, so every notification that has Santertainment word will be colored according to the color we have chosen in this section.
6. Companion Apps on SmartThings

Then the next feature in One UI version 3.0 is Companion Apps from the SmartThings application. If you open the SmartThings application from your smartphone, on the left side there is a new feature called Companion Apps. This feature is integrated directly with the Clock application, Calendar application and also the Smart View application.

To see the use of this feature, you can immediately tap on this Clock section and here you can immediately see what you can use with this Companion Apps. This Companion Apps feature is an application that you can use for your alarm to directly connect to other devices.
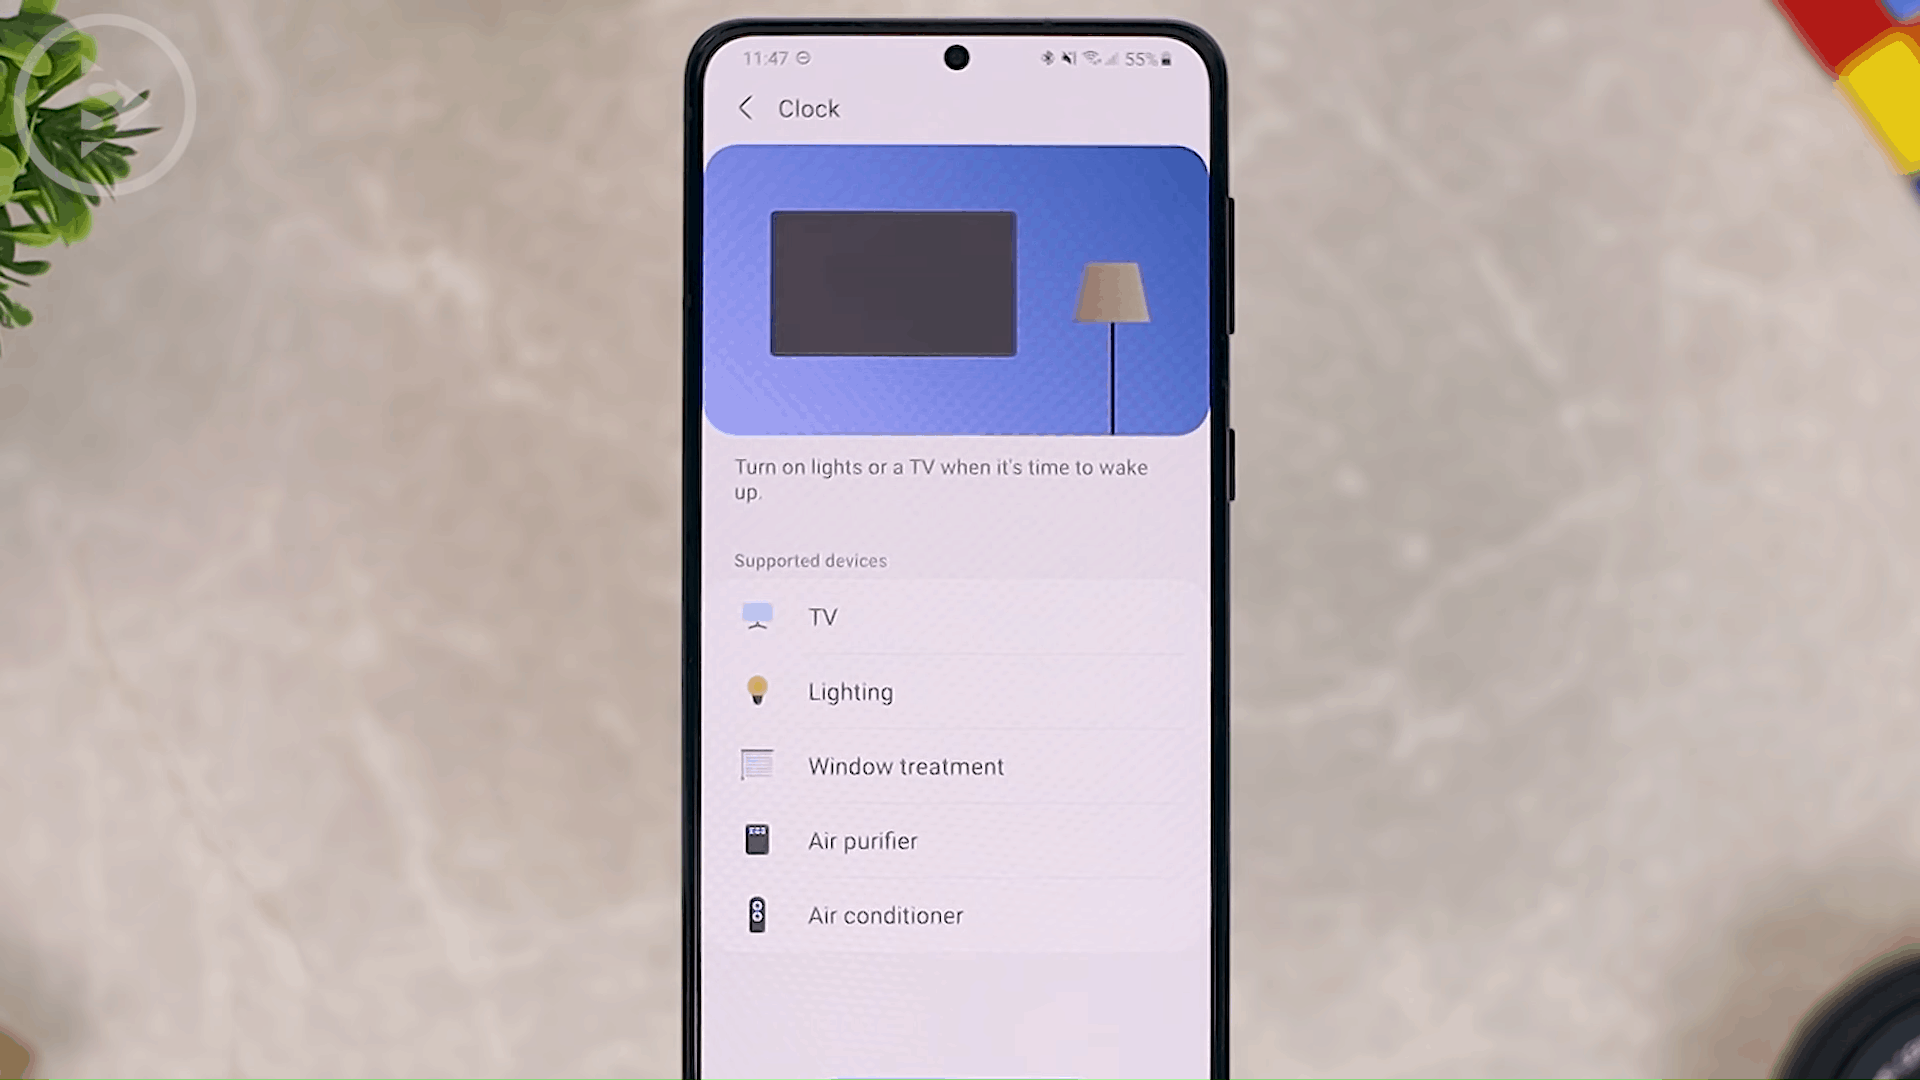
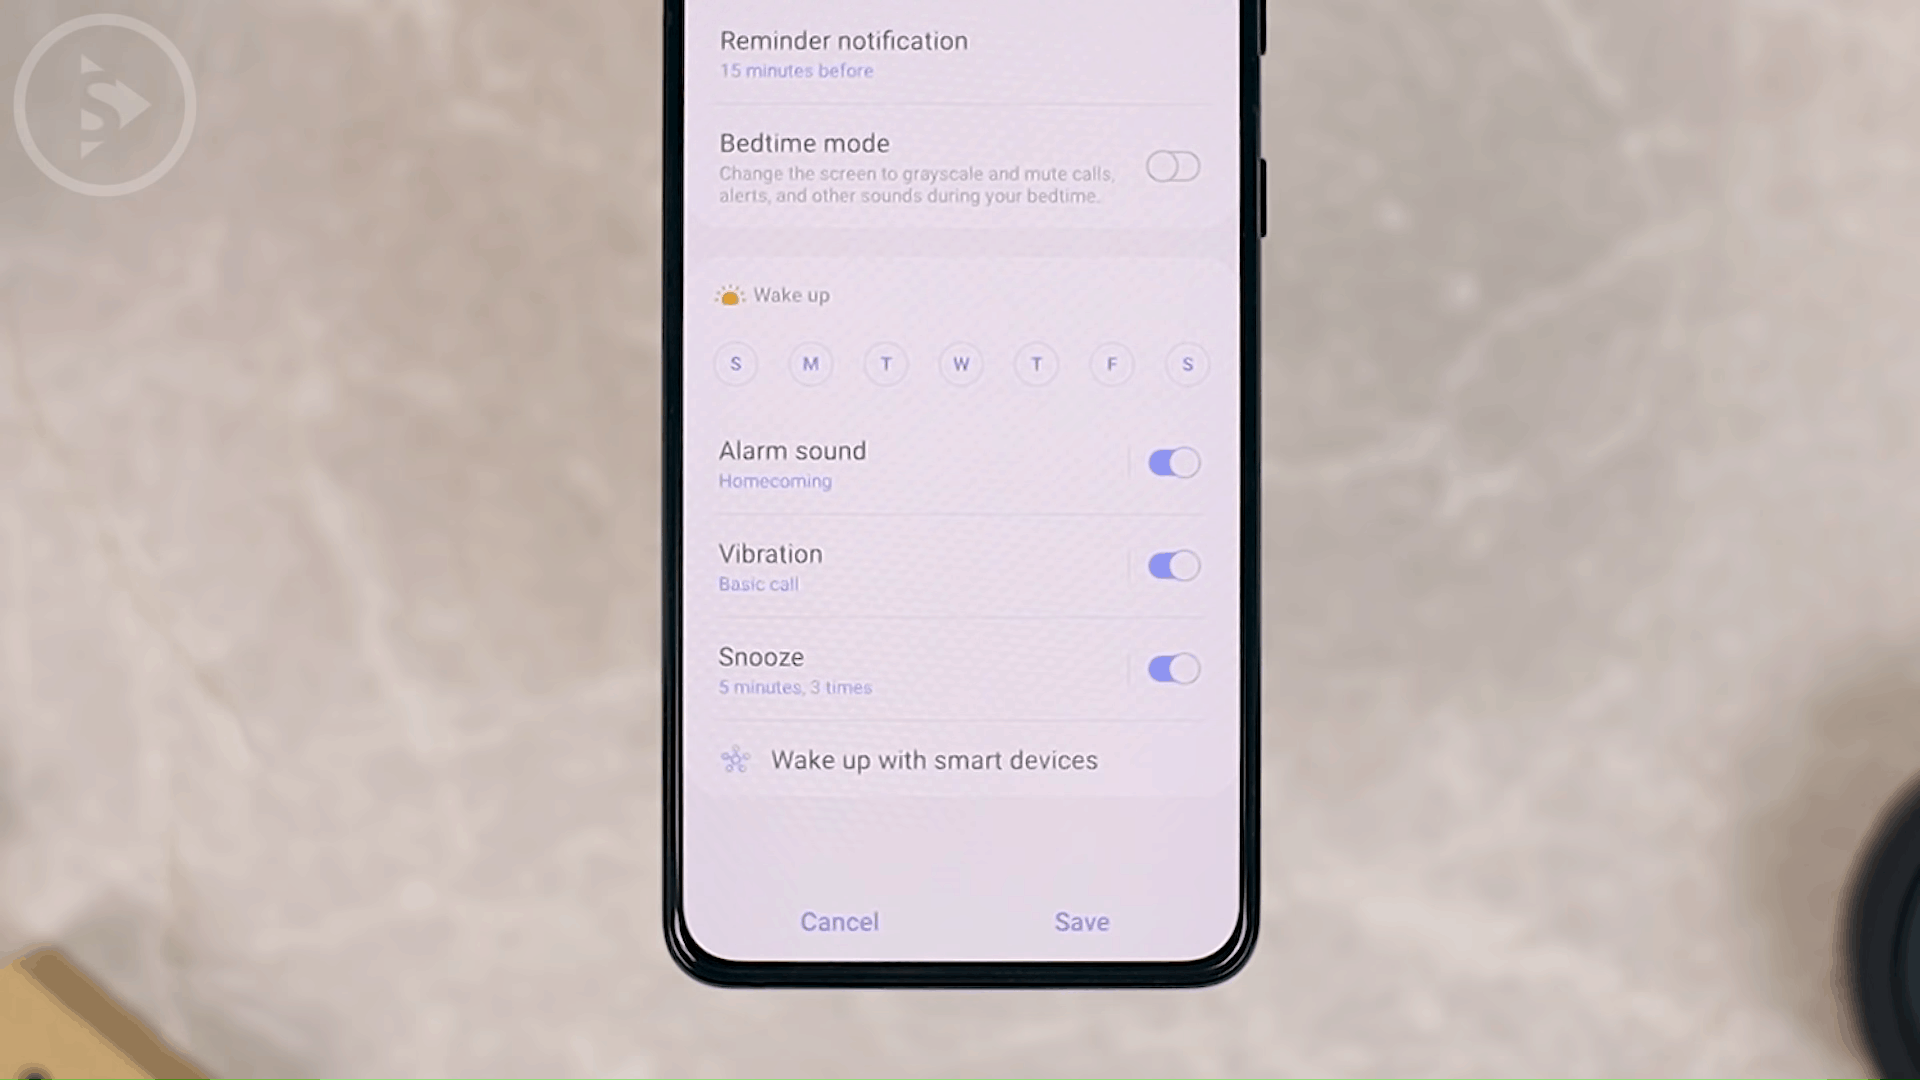
For example, if you have connected a light or TV with the SmartThings application on your Samsung smartphone, you can immediately set the smartphone when the alarm goes off to turn on the TV or turn on the light on your alarm clock. So, in the latest update this time when you set an alarm, you can also immediately select Wake up with smart devices at the very bottom. When you select this menu, you can go straight and select devices that are already connected to your smartphone. So later when your alarm goes off, you can immediately turn the TV on automatically.
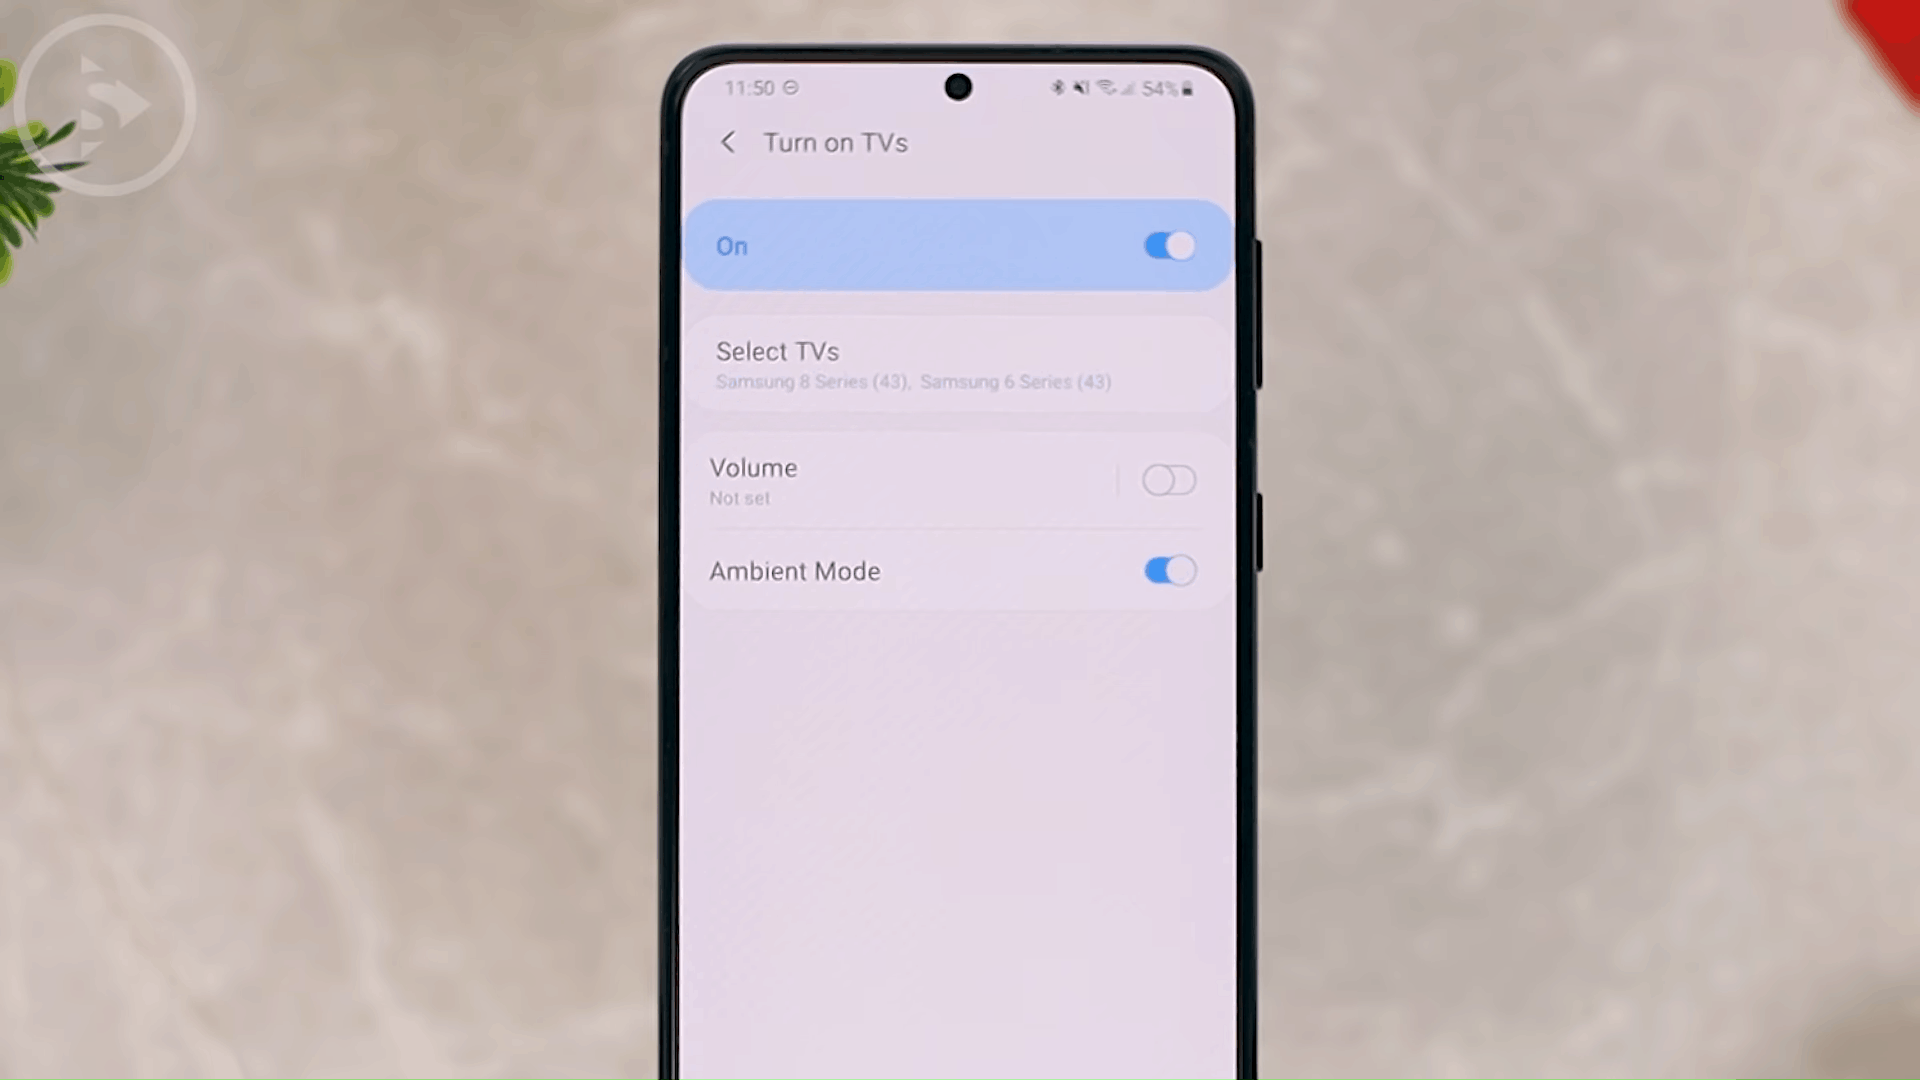
In this section you can also choose which device you want to activate when your alarm goes off. Then in this setting you can also immediately set the TV volume and you can also activate Ambient Mode if your TV supports Ambient Mode.
Apart from the Clock application, you can also take advantage of this feature in the Calendar application and the Smart View application. So, you can also immediately turn on the TV based on the event from your smartphone calendar.
7. Set Spotify Song as Alarm Tone
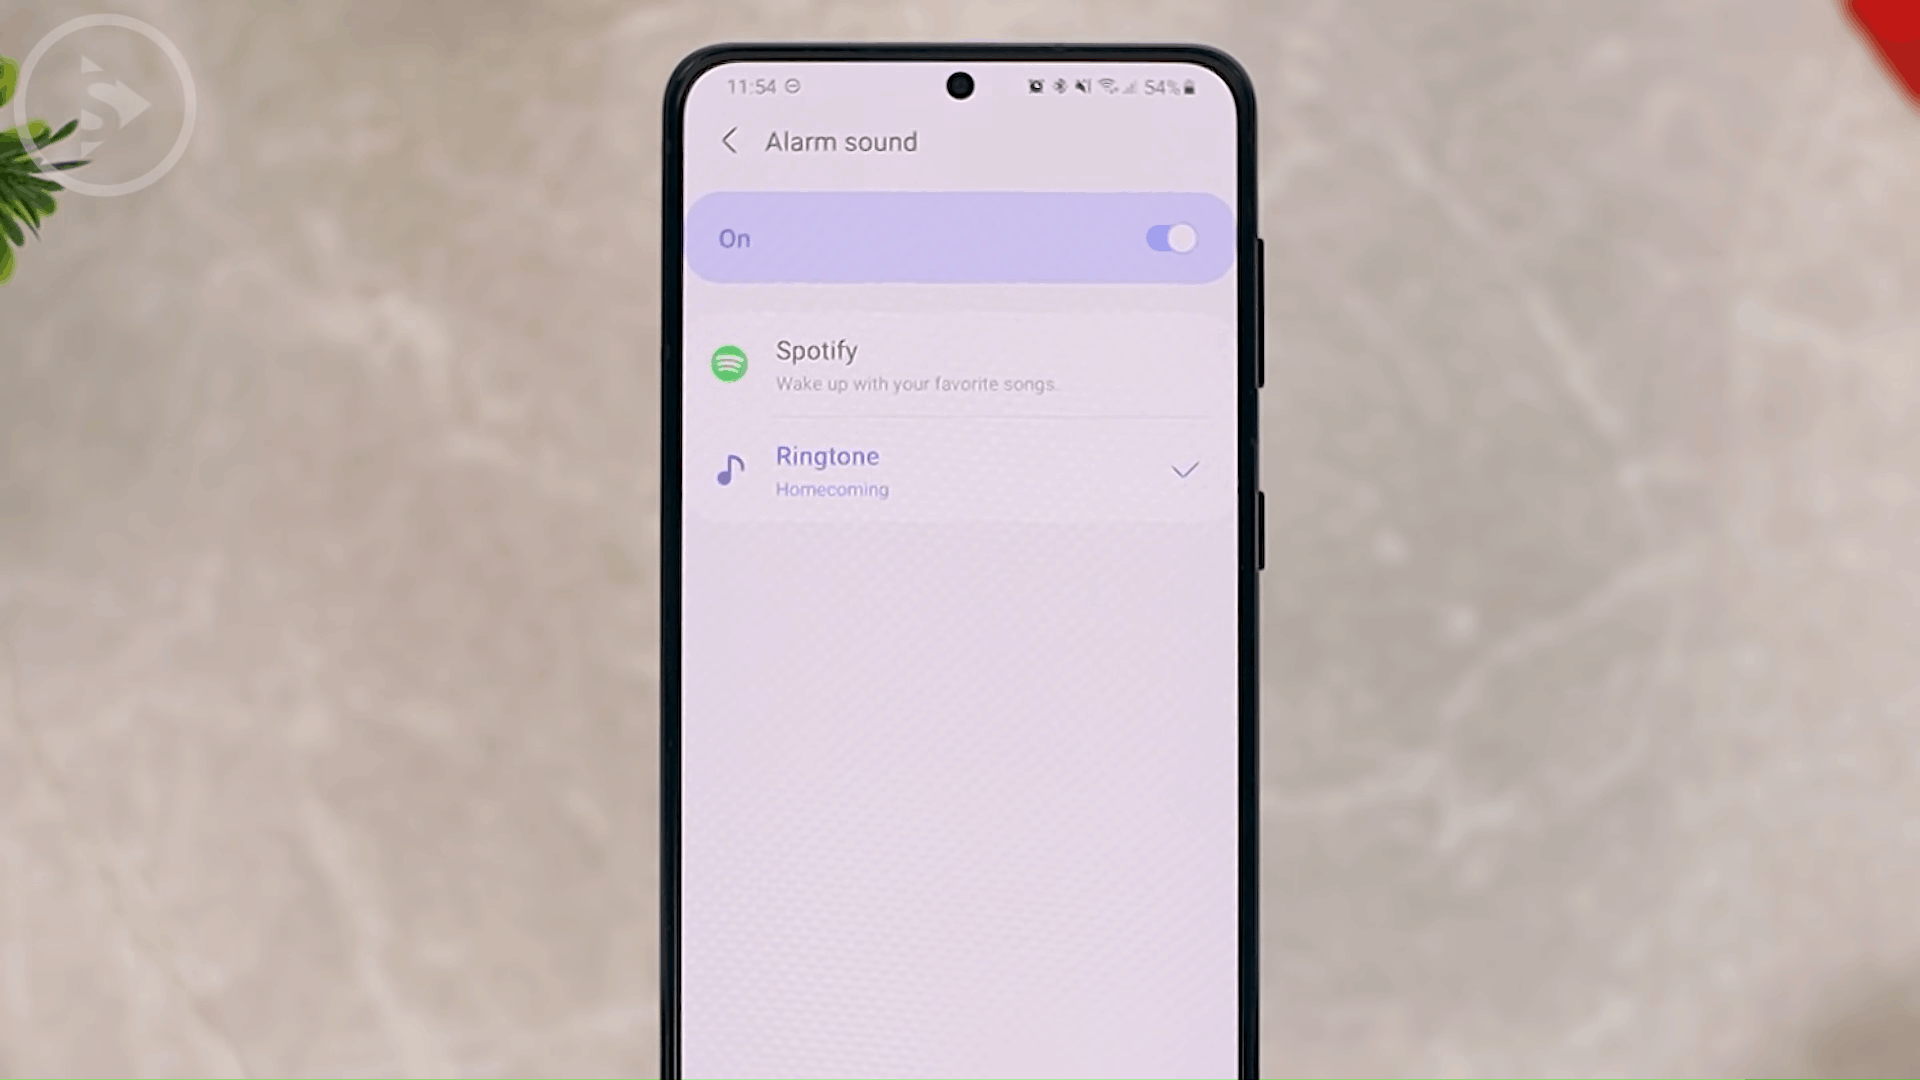
Then the seventh feature is that you can activate Spotify for your Alarm tone. If you usually activate an alarm with a regular ringtone, in the latest update, for the alarm sound, you can directly choose from a song on Spotify. You can immediately select Spotify and select the playlist that you want to turn on when your alarm goes off. You can also select specific songs directly in this section. Here you have to set up first. So, you can immediately select your favorite song from Spotify for the smartphone alarm.
8. Auto Record Calls
Then the eighth feature is that you can immediately record every incoming telephone conversation automatically in the latest smartphone settings. To activate the Auto Phone Recording feature, you can enter the Phone Dial application then click on the three points in the upper right corner and select Settings. Here you select the Record calls and you can immediately activate these Auto record calls. In the settings you can also choose for all calls or you can also choose from numbers that are not stored or from certain numbers.

For automatic recording of a specific number, you can enter the number at the bottom below. Here you just have to choose the number and you can immediately enter the number in this section. Later, after you activate this feature, every phone call to your smartphone will be recorded automatically according to the settings you choose.
If you have any questions or comments, you can immediately write them in the comments section down below, or you can ask questions directly in our telegram group at the following link t.me/santerta. or ask directly on our Instagram DM at @santertainment.
You can also check the video version here: